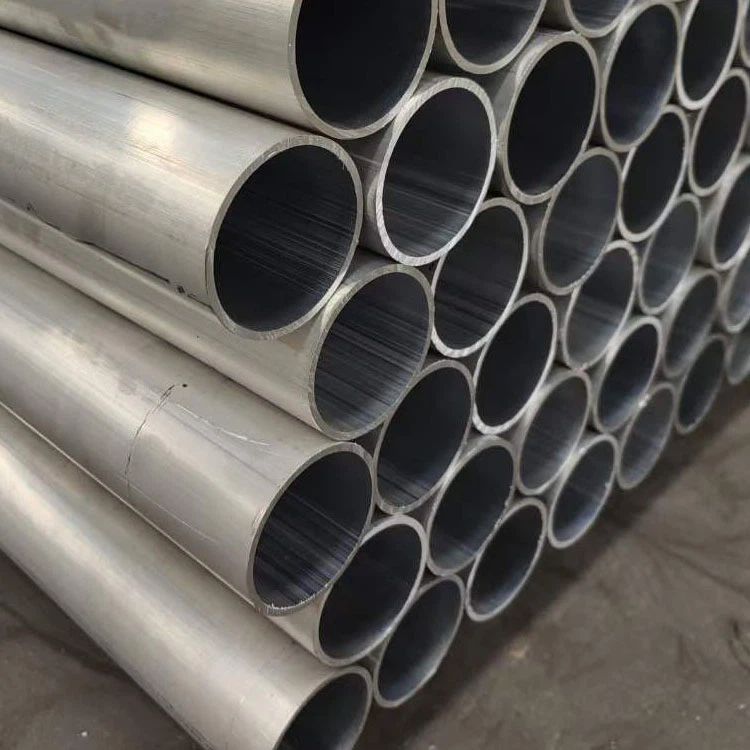
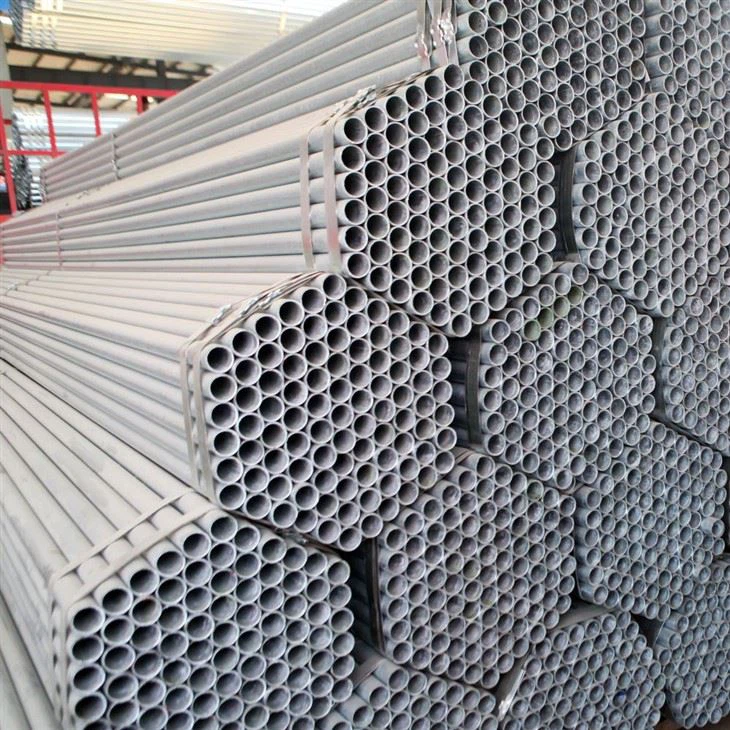
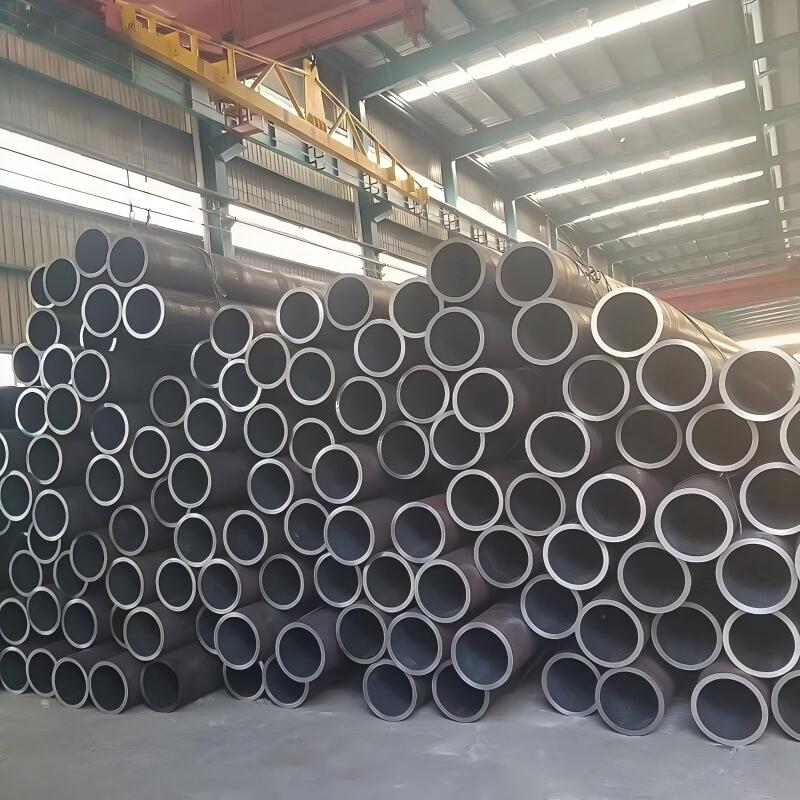
1. Material Composition & Standards
Conforming to ASTM B221, AMS 4171, and EN 755-2 international standards, 2024-T3 aluminum round tubes feature a precision-engineered composition optimized for aerospace applications:
Primary Elements:
Copper (Cu): 3.8-4.9% (forms strengthening Al₂Cu precipitates)
Magnesium (Mg): 1.2-1.8% (enhances corrosion resistance)
Manganese (Mn): 0.3-0.9% (improves work hardening)
Base Material:
Aluminum (Al): ≥93.5% (balance)
Impurity Limits:
Iron (Fe): ≤0.50%
Silicon (Si): ≤0.50%
Zinc (Zn): ≤0.25%
Titanium (Ti): ≤0.15%
Third-party validation through NORSOK M650 chemical verification ensures batch-to-batch consistency. The precise Cu/Mg ratio (2.5:1 optimal) enables effective precipitation hardening during natural aging cycles. This alloy is designated as UNS A92024 under unified numbering system standards and meets Boeing BMS7-260 and Airbus AIMS 05-01-005 aerospace specifications.
2024-T3 demonstrates exceptional strength-to-weight ratios critical for high-stress applications:
| Property |
Value |
Test Standard |
| Tensile Strength (Rm) |
440-485 MPa |
ASTM E8 |
| Yield Strength (Rp0.2) |
290-345 MPa |
ASTM E8 |
| Shear Strength |
283 MPa |
ASTM B769 |
| Compressive Yield |
275 MPa |
ASTM E9 |
| Bearing Strength |
580 MPa (e/D=1.5) |
ASTM E238 |
| Fatigue Endurance (5×10⁸ cycles) |
138 MPa |
R.R. Moore Test |
| Fracture Toughness (KIC) |
28 MPa√m |
ASTM E399 |
The alloy maintains:
85% of room temperature strength at 120°C
Notched sensitivity ratio of 1.25 (Kt=3)
27% higher cyclic stress capacity than 6061-T6
Fully reversible stress limit: 125 MPa (R=-1)
The T3 temper sequence involves precisely controlled processing stages:
Solution Treatment:
495°C ±5°C for 20-30 minutes (α-phase dissolution)
Atmosphere-controlled furnaces with ±3°C uniformity
Quenching:
Rapid water quenching (>200°C/sec cooling rate)
Time between furnace and quench tank: <15 seconds
Cold Working:
3-5% reduction via pilgering or stretch straightening
Strain rate controlled at 0.5-2% per minute
Natural Aging:
Minimum 96-120 hours at 25°C
Relative humidity <65%
Resulting Microstructure:
Grain size: ASTM 6-7 (15-30μm)
S’ (Al₂CuMg) precipitate distribution
Dislocation density: 10¹⁰/cm²
Recrystallization threshold: 260°C
Post-forming heat treatment above 100°C is prohibited due to quench sensitivity and risk of preferential precipitation at grain boundaries.
4. Dimensions & Customization
Manufactured to meet aerospace dimensional tolerances:
| Parameter |
Standard Range |
Precision Tolerance |
Custom Options |
| Outer Diameter |
10-200 mm |
±0.05mm (>50mm OD) |
Non-round profiles |
| Wall Thickness |
1.0-15 mm |
±5% WT |
Tapered walls |
| Length |
1-6 m |
+0/-0.5mm |
Up to 12m |
| Straightness |
– |
0.3mm/m max. |
±0.1mm/m |
| Ovality |
– |
≤0.5% TIR |
0.2% TIR |
| Perpendicularity |
– |
≤0.5° |
≤0.1° |
Processing Options:
Cutting: CNC abrasive sawing (±0.1mm) or EDM
Surface grinding for bearing fits (Ra<0.4μm)
CNC end-forming for complex joint geometries
Passivation per MIL-STD-753C
5. Corrosion Resistance Properties
Environmental Performance Ratings
| Environment |
Exposure Rating |
Service Life* |
Protection Recommendation |
| Marine Splash Zone |
Poor (250hrs SST) |
2-3 years |
MIL-A-8625 Type I Anodize |
| Industrial Atmos. |
Moderate (500hrs) |
5-8 years |
PEO Coating |
| Rural Atmosphere |
Good (1000hrs) |
10+ years |
PVDF Coating |
| Alclad Version |
Excellent |
20+ years |
5% Clad Layer |
*With proper surface protection
Protection Systems:
Anodizing:
Chromic acid (Type I): 8-12μm thickness
Sulfuric acid (Type II): 15-25μm thickness
Coatings:
Plasma Electrolytic Oxidation: 50-70μm ceramic layer (400-600 HV)
Epoxy-Polyurethane: 120μm DFT (>2000hrs salt spray)
Cathodic Protection: Zinc-rich primers (85% Zn content)
6. Machinability Characteristics
Optimization Parameters
| Operation |
Tool Material |
Speed (m/min) |
Feed (mm/rev) |
Notes |
| Turning |
Carbide K20 |
150-250 |
0.12-0.20 |
7° positive rake |
| Milling |
Carbide K10 |
200-400 |
0.05-0.15 |
Climb milling required |
| Drilling |
TiAlN Coated |
30-40 |
0.03-0.08 |
135° point angle |
| Tapping |
HSS-Co5 |
8-12 |
Pitch matched |
Use UNJ thread form |
Performance Metrics:
Machinability index: 70% (baseline: 2011-T3=100%)
Surface roughness: Ra 0.8μm achievable
Chip control: Requires HP coolant >70 bar
Tool life expectancy: 30 minutes continuous cutting
Thermal deformation: <0.05mm at 80°C
7. Weldability & Joining Methods
Fusion Welding Not Recommended
HAZ cracking susceptibility exceeds 80% (AWS D1.2). Approved alternatives:
Friction Stir Welding (FSW)
Tool rotation: 800-1,200 RPM
Traverse speed: 60-150mm/min
Shoulder diameter: 1.2× wall thickness
Z-force control: 8-15 kN
Adhesive Bonding
Structural epoxies: FM73 or EA9394 (≥20MPa shear)
Surface prep: Chromate conversion coating (MIL-C-5541)
Curing cycle: 120°C/2hrs under 50kPa pressure
Mechanical Fastening
Hi-Lok pins: Shear strength 65kN (6mm ø)
Rivet spacing: ≥4× diameter edge distance
Collateral damage exclusion zone: 1.5× fastener diameter
| Property |
Value |
Test Standard |
| Density |
2.78 g/cm³ |
ASTM B311 |
| Thermal Conductivity (100°C) |
121 W/m·K |
ASTM E1461 |
| CTE (20-100°C) |
23.2 μm/m·°C |
ASTM E228 |
| Electrical Resistivity |
50 nΩ·m |
ASTM B193 |
| Modulus of Elasticity |
73.1 GPa |
ASTM E111 |
| Specific Heat (25°C) |
875 J/kg·K |
ASTM E1269 |
| Latent Heat of Fusion |
390 kJ/kg |
– |
| Recrystallization Temp |
260°C |
– |
9. Surface Quality Standards
Seamless construction: No longitudinal weld lines
Surface finish: Ra ≤0.8μm (mill finish), polishable to Ra 0.1μm
Visual inspection: Per AMS 2771 Class A
Defect limits:
No inclusions >0.3mm (ASTM B557)
Scratches <0.05mm depth
Die lines not exceeding 0.1μm Ra
Cleaning protocols:
Ultrasonic degreasing (AMS 2646)
Acid etching for adhesive bonds
10. Certifications & Testing
Non-Destructive Testing
Ultrasonic: Level B (EN 1714) detecting flaws >0.8mm
Eddy Current: ASTM E309 (0.5mm sensitivity)
Dye Penetrant: ASME Section V Article 6
Hydrostatic: 50MPa test pressure for 30 seconds
Mechanical Testing
Tensile: ASTM E8 at multiple temperatures
Hardness: Rockwell B scale (ASTM E18)
Impact: Charpy V-notch at -65°C (min. 4J)
Certifications
Nadcap AC7117 (Materials Testing)
AS9100 Aerospace Quality
PED 2014/68/EU Category IV
ISO 9001:2015 Quality Management
Aerospace Applications: Landing gear components, missile guidance systems, actuator housings, hydraulic lines, and wing spar reinforcements where strength-to-weight ratio is critical.
Packaging: VCI paper + double-layer PE film with desiccant, ISPM 15 compliant wooden crates. Standard lead time: 8 weeks.

